Wednesday 31 October 2012

HALLOWEEN: US Style

So say American's go all out for Halloween would be a bit of an understatement. Granted not every American loves or welcomes All Hallows into their life or home, but many, oh so many do. Because we drive around loads over the weekends for estate sales, we get to see houses and yards that we normally wouldn't, so so many have turned their front yards into grave yards covered in grave stones, spooky lighting,  fake cobwebs, pumpkins to hanging ghosts and ghouls off trees. In comparison while people like the idea of Halloween in the UK, kids go trick or treating it never seem to have got off to the same extent and level and love that the US populace has for the holiday. Saying that the popularity of Halloween I felt was growing, if only slowly by the time I left the UK. 

If you walk into any store from September onward you'd be amazed at all the spooky goodies you can purchase. From pumpkin cutters, spooky phones that answer to a deathly laugh to skeletons and special Halloween sweets [me being a fan of the pumpkin shaped snicker bars]. 

Hurricane Sandy resulted in windy and rainy nights so many in our neck of the woods are moving trick or treating to the weekend it seems. Either way we have a load of sweeties that we'll gobble up if no little ghosts or ghouls appear. 

Monday 29 October 2012

When life gives you lemons

I know life would be dull if we all had it easy, we wouldn't appreciate the good if we didn't know the bad. But sometimes it feels like when it rains, it pours. Everything things to happen at once - when life gets real. 


Our car has been dying for a month or so, you don't realise how much you need it till the thought of it being dead comes to mind. Joe needs it for his job, you might think social workers sit behind a desk all day but he's more likely to be sat behind his car wheel all day in the three years he's had his current car has added 80,000 miles to the total. But it has a problem with the engine that would cost more then what the car is probably worth to fix and the rear left wheel makes crazy scraping noises when you do start left turns. Not a healthy sign at least.

Then you pay your rent bill like normally, they charge you twice you have $80 to last you a week. Yeah that happened too. We have new "apartment complex managers" which have just been rubbish since day one and once you know you're getting new landlords you know your rent is going up. It's going up that much we're seriously considering moving - we're kinda far out from Joe's work anyway and maybe a move would be good for us and there's cheaper places out there. But it's the hassle and the nerves of moving that come to take over. I can easily move myself from the UK to the US without many nerves but the idea of moving me, Joe, two cats and everything we own as little as 5 or 30 miles is unnerving.

Oh yeah and we're doing all this on one income and my ebay sellings.


Sometimes I think me and Joe have never had it easy what with being in separate countries for 2 years, visas, money problems to me just not being able to get a job. Sometimes you just want to scream for someone to give you a break.

Oh how I whine. As Joe jokes when I whine - would I like cheese with that?!

How do you cope when life gets hard? 

Monday 22 October 2012

DIY Crocheted Flower Brooch & Hair Clip


 Colder months often means having to pull out the warmer, thicker coats that have all lived in our wardrobe for the last year and granted, many of them just look the same. When I received a selection of Aleene's glue and adhesives it got thinking about making some accessories using my love of crochet to jazz up my outfits. This ended up being really inexpensive and is a great way of using some odd ends of yarn. So I decided to crochet a flower hair clip and brooch and here's the tutorial!

A range of some of the Aleene's glue and adhesive products which has glue and adhesive for all your needs from traditional tacky glue to a spray paint version and fabric glue.

Shopping list;

  • Odds and ends of yarn, whatever thickness and or colors that you have around
  • Crochet hook
  • Hair clips you can craft with
  • Brooch fastener
  • Aleenes Original Tacky Glue
  • Aleene's Fabric Fusion Glue


So I started off crocheting two flower and a leaf motif which once you know the foundations of crocheting anyone can make and are great way of using up odd pieces of yarn. The pattern I used came from a 1970s motif book I grabbed at an estate sale but there's plenty of free patterns online.


Once all your crocheting is complete, taking some neutral colored felt I cut a circular piece just slightly larger then the inner circle of the last flower round. Having a backing piece of felt not only strengthens the piece but allows you a backing to adhere the fastening too. For this I used the Aleene's Fabric Fusion which takes 2 - 4 hours to set. While it was setting I kept it in place with some pins. For the brooch once the felt backing has set you then glue the leaf in place across the back.


To add that little extra detailing to the flower front, I adhered two miss matched buttons to each flower center. When gluing an item to fabric I found it best to use the Alenee's Tacky glue running a line around the button and leaving a good four hours to set and it holds firm.


When everything is glued and set you can think about how you want to use and style your pieces. Both the brooch fasteners and the hair grips can be easily found in good craft stores or you could even reuse old pieces if you have them lying around. Again as your adhering onto fabric you're best using the original tacky glue - for the hair clip its just as simple as gluing onto the metal circular piece and holding it tight upon the back whereas you might want to add a little extra support to the brooch again using the felt. 


While the brooch fastener can be glued to the reverse leaf side, a piece of felt glue each side and running over the brooch adds that extra support and hold.

 
Perfect way to stand out that little more in the winter months!

Want to see what others have been creating using the same products?! Check out the links below!


You can find out more about Alnee's Glue and Adhesives via their social media links; 
Website // Facebook // Twitter // Pinterest 

You can read my disclosure here

Thursday 18 October 2012

LIFE: Lately ...

I haven't really been around on blogger and or social media. Well not so much as normal. They've both somewhat taken a bit of a step back - everything else is going on and I'm not finding the need or the drive to spend that extra time blogging - which is kinda lame on my part. But I'm busy, busy busy with trying to expand and grow my online selling. You see not being able to find someone out there willing to hire me to the point where it was making me very down I've taken matters into my own hands and I'm just throwing myself head and feet into my eBay reselling and additionally with my Etsy to make my own way in the world. Granted it's slow, it takes up a lot of my time from Saturdays and Sundays 9 to 4 hunting estate sales, writing up listings and posting and doesn't make me millions but it's making me happy and I finally feel like I'm paying my way a little in our relationship. 


One of my favorite items up on Etsy right now - a 1950's guide to letter writing entitled It's time to write letters! [now sold]. It's a great reminder to step away from the email and get out a pen, some nice stationary and start penning out a personal hand written letter to your nearest and dearest. Shame etsy isn't pulling as much weight as Ebay is right now though.


On all our estate sale hunting's lately I've been grabbed cheap boxes and assortments of vintage Christmas baubles, I've had plans and been pinning wildly bauble wreaths and I'm determined to make my own this year. Trying to fight off the urge to make it right now and hold off a little closer to December but I hope to get it done and posted up on here!


So that's my life lately. Crazy to think I've been here three weeks short of a year, and hopefully my reselling is heading in the right direction, certainly getting busier week by week!

Tuesday 16 October 2012

DIY Leaf Stenciled Vase

Stenciled leaf vase with gilded pinecones

I grew up in a house with a huge basket of pine cones sitting by the fire. Everyplace we visited we'd always try and find more pine cones to add to the collection so when Plaid sent me some Martha Stewart Crafts  goodies I knew I wanted to start off a brand new collection for life here in the US because around our apartment pine cones are dripping off the trees - it's a cheap and perfect way to bring some of the fall season into your home. 

If you haven't checked them out already Plaid have teemed up with Martha Stewart Crafts in providing some amazing crafty goodies especially for glass painting with everything you could ever need from paints, special brushes, stencils and transfer paper. 

Supplies;

  • Vase 
  • Pine cones or other goodies like acorns
  • Martha Stewart Glass patterning tape
  • Martha Stewart Liquid gilding in silver and copper
  • Martha Stewart Natural bristle brush
  • Martha Stewart Squeegees
  • Martha Stewart Glass paint in chestnut, brown and mace colours
  • Martha Stewart Leaves Adhesive Silkscreen #33235

The vase itself was an estate sale find - one grabbed into the $5 bag with a load of other goodies so that in itself was rather inexpensive but it was plain and certainly needed jazzing up. Using the Martha Stewart Crafts glass patterning tape I marked out around the rim of the vase - just to make sure when it came to gilding the edge the finish would be neat and straight. The gilding paint - which came in silver and copper applies smooth and although it needs a good couple of layers really builds up well. I choose to use the copper color for this part and I'd suggest applying it in a well ventilated area. Once it's dyed gently pull away the patterning tape and you'll have a nice, crisp edge.

As soon as I'd opened the box of goodies I was instantly drawn to the leaf silkscreen and I knew I wanted to create the impression of leaves falling down along the length of the vase. Using wonky angles, letting them over lap with two of the different sized leaves I took to placing the silkscreens upon the vase. These silkscreens already have a pre-sticky backing which really helps with placement, you don't have to worry about them slipping or coming unstuck when your applying your paint. 

Then to the fun part - painting! Sticking to autumnal colours I used the Martha Stewart Crafts Glass Paint using a mixture of shades Chestnut, Brown and Mace alternating across the leaves. The Martha Stewart squeegees are amazing for using with silk screens - applying your paint along the edge of the stencil and merely dragging it down with the squeegee until it's all covered.  

And there you have it - pretty stenciled leaves upon glass - pretty huh? I just love that rustic look. You need to take your silkscreen off as soon as you've painted each leave - no need to leave it to dry. Then there's two methods to set your paintwork - you can either leave it 21 days to dry or bake in the oven. Seeing I wasn't intending to use this vase for anything other then decoration I opted for the 21 air drying method. 

Now you could leave your finished vase as is - and just add some flowers. But I wanted to get back to collecting pine cones - so my my vase is my pine cone holder. But I wanted to spice them up a little and add some more dimensions to the range of colors so I went back to using the gilding paint an used both the silver and copper tones to paint just a couple of the pine cones in each shade. I was surprised at just how well the gilding took to the cones - I thought it would be a little too porous  but after only two coats they were done and then it's time to just place them into your vase. 


FINISHED! A great simple and small way to add a bit of autumn into your home and you could certainly add acorns, leaves, berries into the mixture as and when you come across them. 

Make sure you check out what other crafters have been making with their goodies! 

You can visit and find out more about Plaid via their social media links;

Facebook // Twitter // Pinterest 

Disclosure - I wrote this post as part of a paid campaign with Plaid and Blueprint Social. The opinions in this post are my own.

Monday 15 October 2012

DETROIT: Belle Isle Nature Zoo

Hidden away on Belle Isle is a tiny little Nature Zoo which is run by the Detroit Zoo. I thought I'd write this post as a somewhat comparison and show and tell about American garden birdies after we spent a good while watching some birds having a feed. In America you'll find the normal sparrows and your starlings, but the other birdies they are bigger and brighter. Even the traditional Robin in the US is the size of a blackbird. 


The common grackle is the size of your blackbird and is similar in colouring expect the Grackle has a gorgeous blue/green/purple colouring to it's head. Apparently they tend to steel food from other birds and are more likely to feed from the floor.


American woodpeckers are a lot easier to find and spot when you're out in the woods compared to my former life in the countryside of Yorkshire. This a red bellied woodpecker is one spending most of it's time in southern Canada and the northeastern parts of the US. Not too sure why it's called red bellied as the redness is found on it's head, but there you go.  House sparrows are house sparrows were ever you are!


Pretty Blue Jays, apparently have a bit of an angry side to them with their lavender blue colouring and white underside. Being the size of blackbirds, maybe a little bigger they are easy to spot. They have a bad reputation of destroying other birdies nests and eggs.


Squirrels are pretty easy to find here in Michigan. They tend be a lot darker in colour too - in some cases actually being black. We get loads coming across the lawns in front of our apartment. 


At the Nature Zoo they also have this really neat two sided display connected to the outside of the building were bee's can fly along into and visibly show you making honeycombs. I even spotted the Queen bee. The rest of the Nature Zoo was filled with the typical species you might come across in the wilds of Michigan from Salamanders, turtles, fishies and frogs.


After spying their little allotment patch, they have a great little trail through fields of wild flowers and woodland around the nature centre too and what appears out into grasslands. We didn't have the best of footwear to be slogging around in overground grasses but it's certainly somewhere to wander back too.

Friday 12 October 2012

Vintage goodie wishlist

If we had a never supply of pennies I think a lot of our goodies would be vintage in origin and with hitting estate sales every weekend it certainly gets me dreaming even if we don't have the spare cash, or the room to rehome them. While I like vintage accessories and furniture Joe has a partaking for more manly vintage things like pinballs machines, equipment and working things. Here's a selection of the goodies we would love to have one day;


We use to have an old cream rotary phone hanging on the wall in my early childhood and I can still remember it now. There's something charmingly happy about turning the daily for the numbers one by one. I don't need a house phone to do a million things but I would love it to be pretty and what could be better than this gorgeously curved, pastel mint green old phone? To be honest even if it wasn't in working condition I'd take it home as a display piece.


We did see a chaise lounge once at an estate sale but it was in a damp basement, who knows how long it had been down there and it needed reupholstering for sure. Plus on top of that they were wanting a fair whack which is tricky when the condition isn't really know. I never thought I'd want and or need one till I saw it. I can imagine having on in a bedroom by a window with a view. Just an extra space to curl up and read a book in some peace and quiet.


There is a tale as to why I'd love to own a sewing table/box. Long time follows of my blog will know about what happened when my gran died, the case of lots of her belongings being thoroughly thrown out by certain family members without a second thought. My mam had had her heart on the sewing box and it's from her I inherited my love for all kinds of sewing. It seemed fitting that she would inherit the sewing box that her dad a carpenter, made her mum [my gran]. Or so you had though. My uncle thought it was his right because he was clearing everything out and that my cousin [who doesn't sew] should have the said box. She didn't even come to the funeral. Okay rant over. But you can see why?


I am a girl who doesn't own her own dresser - yet. It's currently an old desk which actually does the job of a dresser rather well but I'd love my own vintage one with a huge mirror and plenty of drawer space. They seem however harder to come by in estate sales then I would have imagined. Ah well keep looking!

Do you have a vintage wish list in your head? What vintage things are you after currently?

Wednesday 10 October 2012

DIY: Bat Themed Halloween Tote

DIY Halloween tote featuring Tulip tie dye paints

Tie dying seemed to pass me by as a child - I'm not really sure why, it just did.. But finally at the age of 26 I got to try it out for myself when I received a package of Tulip Tie Due and Paint Kit alongside some Tulip Glam It-Up! Iron on Fashion designs from iLoveToCreate. Being fully settled into American life I wanted to go head strong into the Halloween theme because while Halloween is big in the UK, it's nothing compare to the USA. It's like everywhere.

The goodies iLoveToCreate sent

Shopping list;

  • Tulip tie-dye and paint kit which includes ink, bottles, fabric paint, rubber bands, gloves and instructions
  • Tulip glam it-up fashion iron on designs
  • Material
  • Sewing machine [or you could hand stitch]

To the fun fun!

The Tulip tie-dye box provides great instructions - especially for a novice like myself, not only that but it provides you everything you need - sorted!. Starting with mixing the provided colours [lovely Halloweeny orange and black] with water and shaking so it mixes well it's time to start the tie dying. I was using a material that was already orange but I wanted to make it not only multidimensional but I wanted to produce a radiating circular form from the top corner to then being dyed black to represent a moon and the dark sky - at least in theory.

Pinching up the corner of the fabric I attached the first rubber band and carried on doing so at irregular intervals, I have to be careful because our cats love to play with rubber bands! Anyways ... the bottles in which the tie dye is mixed have great nozzles so you can really get in between the fabrics or miss parts out - whichever you prefer! Be warned it is a messy craft [I could see this being great fun with kids] so make sure you work on something you don't mind messing up and reminding me somewhat of the mess I create when hair dying. After application wrap it up in cling film [I didn't have any so I used a plastic bag which worked just as well] and left it over night to set, but you only really need to leave it a good 6 - 8 hours.


After leaving it to set you'll want to wash it to get rid of any excess ink so you'll probably want to keep those plastic gloves because the ink gets everywhere. When dried your ready for the next steps. Taking the bat Tulip Glam-It-Up fashion design you merely peel the back of the plastic off, place it sticky side down upon your fabric, cover with some and then iron on holding it in place for a good 40 to 60 seconds. After it's cooled you need to iron the back too. You do have to be incredibly careful with the iron on designs because as you can see from my attempt the little sticky crystals fall off really easily - but once they are ironed on they are certainly stuck! 

The Tulip Tie-Dye kit also came with some great paints - a black fabric paint and a glow in the dark shade. If you know of Alice in Wonderland you might recognize the "twinkle, twinkle little bat" quote I wrote in the paint fabric upon the bottom of the fabric as one recited by the Mad Hatter. The fabric paint takes four hours to set and once it's set you're done!

The final step is to create your tote. Using another tote as a guide I took another piece of fabric [totally unmatching to the front but certainly still in the autumnal theme] sewing around the three edges and hemming the opening. It's best to reinforce your handles with a lot of tight stitches back and forth and then you're sorted.


Not too bad an attempt for the first go at tie-dying and tote construction don't you think?! While I may be a little old for trick or treating it'll certainly get some use when shopping and hitting estate sales!

All these items are on sale in JoAnn Fabric Stores until November 3rd and you can find out more about iLoveToCreate by visiting these links;


Make sure you check out what other bloggers have been making with their goodies!

Inlinkz Linky Code:

Disclosure - I wrote this post as part of a paid campaign with iLoveToCreate and Blueprint Social. Regardless all opinions expressed are my own.

Tuesday 9 October 2012

The Engine Works Detroit - a follow up


I know I'm pushing my luck with two Detroit based posts in a row and previously I've never really needed or felt the need to do a follow up post - but a recent news story of one of the buildings I recently published on my blog is looking to receive a new life. You might remember my post about the former Detroit Engine Works Company complex - six buildings along the Detroit Riverside which was the result of the merger between the Dry Dock Engine Works and the Detroit Dry Dock company in 1899. Once the 4th largest employer in the city, even to the then young and unknown Henry Ford. But on Saturday the Governor of Michigan - Rick Snyder launched the $12.8 million rebuilding of this complex into an adventure and learning complex The Oakland Press reports

Snyder is reported as saying;

"I want everyone to remember what that [the building] looks like today  so when we come back and see what it looks like, we can see what the power of working together can do and the opportunity to reinvent Michigan and the opportunity to reinvent Detroit". 

Work on the Detroit Engine Works complex is expected to begin at the end of this year or the start of 2013, it's thought to be up and running by late 2013. 

Hopefully just another step in the right direction for the city and I'm happy to see an important building finding a new lease of life, rather then being left to root, forgotten or demolished.

Monday 8 October 2012

DETROIT: DLECTRICITY

Light Terrain by James Witherspoon - using spheres and lighting to explore the interactions of a responsive architectural landscape to pre-existing land and buildings around it.

On Friday night we headed into Mid and Downtown Detroit to check out the new contemporary light art festive DLECTCITY. Hosting national and international artists, the city played host to design, art and performances in the spaces and walls that make up this part of Detroit with the idea of lighting up the city and welcoming and challenging people to see these spaces in a new light - rather apt for Detroit. We even saw a dancing space monkey.

Sadly the trip Downtown coincided with a huge rain shower that hung over the city and the metro region so we didn't get to see too much. What we did glimpse was entertaining and was great to see so many people out even in the rain. It also became a great excuse to capture some photographs at night - even the blurry images of driving along Woodward captured through rain droplets came out with a great effect.

Thursday 4 October 2012

My tips for selling on eBay

As you know I spend most weeks listing items on eBay. It's actually the start of my mission of making a living from it. It's hard work but it's growing. I know a lot of of us have those clear outs and throw a load of items on eBay in the hope of earning a little extra cash but there's ways and means of making sure you're actually making a profit. There's two things I'm going to talk about today - fees and why you should open non payment cases.

When you start out on eBay it's all to easy to fling things on and start them at really low prices which they may or may not get huge amounts of bids on. But if your selling them for say 0.99 and not considering all the eBay and paypal fees alongside how much it costs you to buy your envelopes you might actually be loosing money. You certainly need to be mindful of those hidden charges. 

So lets talk first about fees. While I obviously use the American version of eBay the same applies to the UK [although the pricing will be different]. Every time you list and item on eBay your charged a listing fee - the charge of which is determined by how low or high you start your pricing at. In the US any item listed with a starting price of $0.99 is charged at $0.10, $1.00-$9.99 at $0.25 and so on and so on. Your additionally charged for certain time lengths your listing too, plus extra for adding buy it now - so if your not careful you can add up a fair whack in fees before it's even sold. Even if your listing on FREE listing events you will still pay those fees if it sells. Next there's the final eBay closing fee which is charged [in the US at least] 9% of the final closing figure which includes the amount the item sold for plus what your charging for shipping. Then add paypal fees and you're charged 2.9% plus $0.30 per transaction received into your account. It all adds up.

This is why I use a spreadsheet before I list anything on eBay to make sure that i'm not making a loss from the off. I also include the pricing of envelope and the buying price of an item. 


Obviously if your just selling the odd item upon eBay you don't need anything as insanely crazy as this but you do need to be mindful of all those fees or you won't be going anywhere. As eBay is my way of making money so I have columns calculating all the fees for me, places to add in shipping costs and how much money i'm actually making. 

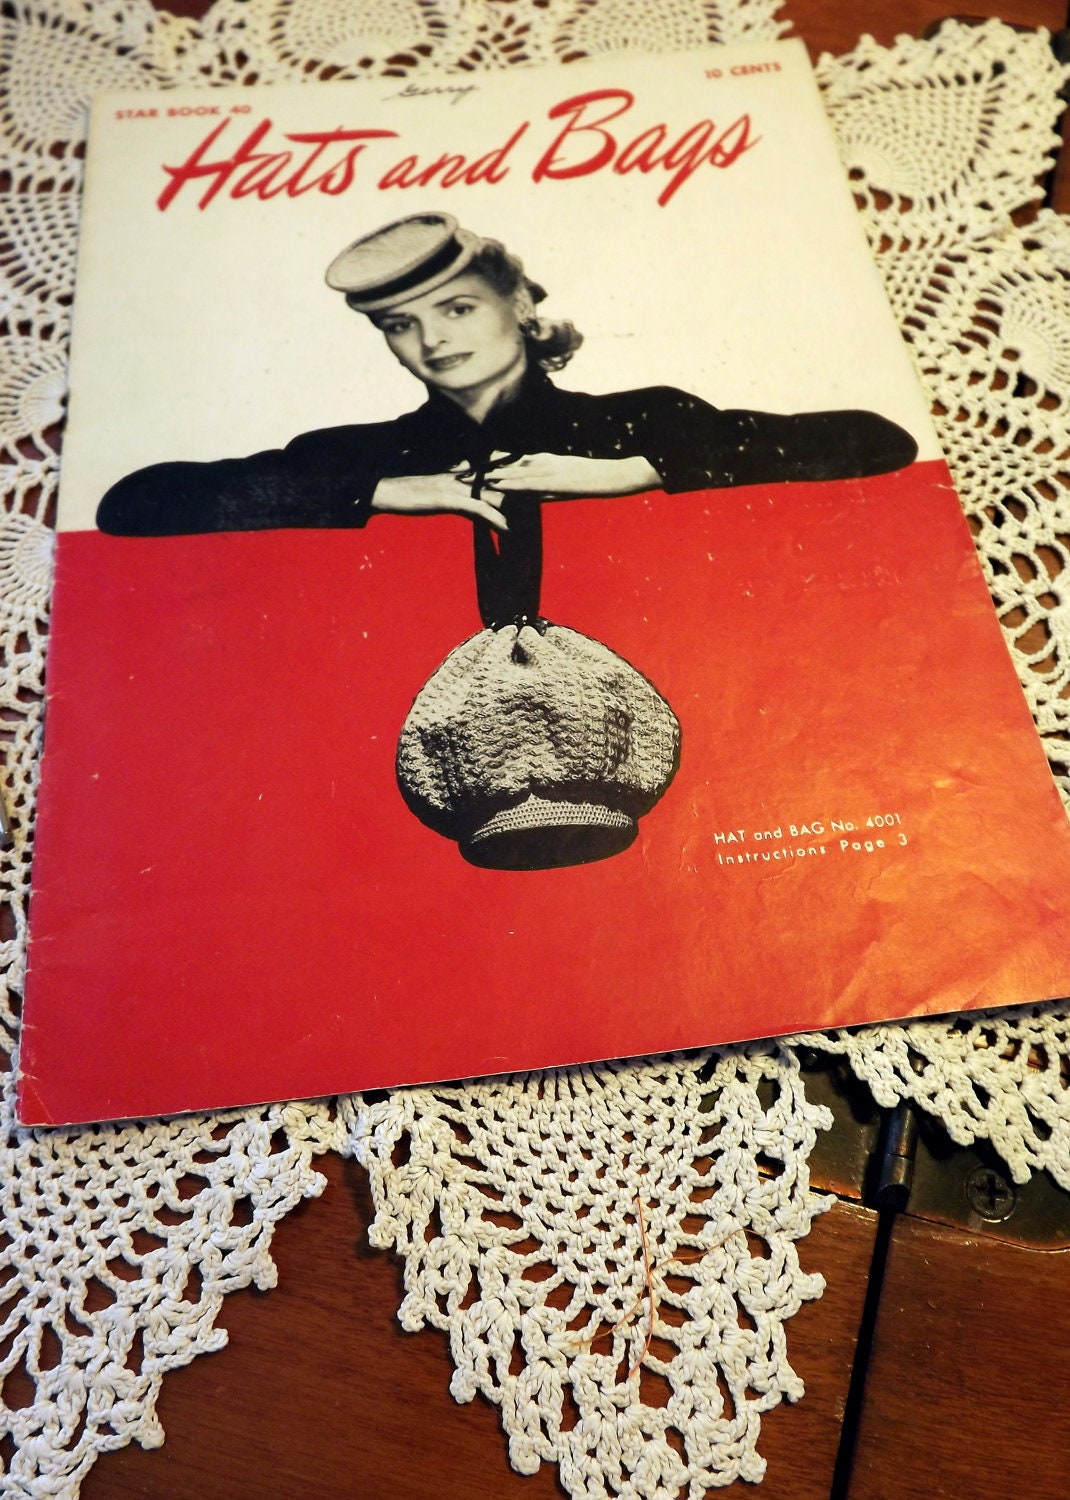
You should never guess the weight of an item in calculating shipping costs. When i'm filling out my spreadsheet I work alongside my postage scales [or you can just use good old kitchen scales] and the USPS  website. Weigh your item inside an envelope and work out your price - I add a $1 shipping and handling fee for each pattern. If your guessing weights you'll probably end up undercharging and loosing out. 

Now most of your items when you sell them the buyers will pay up. But increasingly you might be coming across people bid on something and then never pay up or what I call eBay trolls - people who bid with no intention of ever paying. I know people find it a hassle opening unpaid cases against people but you really should - why because not only does it inform eBay of those non payers but, even if the payer didn't pay up eBay will still charge you the final closing fee. If you open an non payment case, and the buyer still doesn't respond you can close the case and eBay will refund you. When your trying to make money you should always claim back what is due to you. 

So I hope this helps - these are to the two biggie parts I've really tried to focus on in my own selling and use of eBay lately and hopefully it might help you too!

If you have any eBay tips or items you would like me to focus more on when it comes to eBay just leave a comment below!

Wednesday 3 October 2012

1940s hats and bags


On my mission to re-home vintage crochet and knitting patterns I certainly come across some delightful publications. My favourites have to be from the 1940s were the housewife was squeezed by rations, limited material supplies and the worry of the war - but she still wanted to feel like a woman. It was a generation when crafting was the thing to do - at a time when you could just as easily make your accessories then buy them. Which is why I loved finding this 1945 American Thread Company publication Hats and Bags [Star Book #40] - one crammed with stylish designs from berets, snoods to black bags all to crochet. The women are as much on show in the images as much as the finished items and that's half the reason why I like these old patterns - the pictures are as intriguing and as delightful as the patterns.

You can currently find Hats and Bags on sale upon my Etsy store Hook, Stitch and a Treasure. A perfect place to find vintage crochet and knitting patterns waiting to be rehomed.

Monday 1 October 2012

LIFE: A Friday in Autumn


So on Friday we ended up having a picnic and a gorgeous walk around a couple of lakes to admire the gorgeous changes in colour of all the trees. But Friday didn't set out to be that way, Joe went to work, or at least he'd told me he was. In fact he'd booked the day off so we could have a long weekend together for my birthday and ended up knocking on our apartment door by 9:30 with a huge bunch of roses. We headed off to the Indian Springs Metropark and had a picnic all prepared by Joe too. He's certainly for keeps.

Metroparks are great for wildlife, especially at Indian Spring were we've already spotted wild turkeys on a previous visit but this time alongside seeing countless chipmunks we saw sunbathing frogs and turtles, all up for just lounging around while I grabbed their portraits.

Autumn has always been one of my favourite times of the year but the colours the leaves are changing here in Michigan is certainly something else. From burnt reds, oranges to yellows a single tree can be three colours. And just hearing the crunch of leaves underfoot is always a delight.